


Happy Holiday Crafting everyone!
I’m excited not only to be sharing this exclusive project with my friends at Simon Says Stamp, but also to be able to bring you this web page with a full video tutorial as well! I’m so happy to have launched my new website here at www.craftwithmay.com – and I will be bringing you all kinds of new crafting class adventures as well as the occasional special free lesson like this one!

Let’s dig right in! I have created this video lesson to walk through my process completely, as well as show you how I like to use many of the mediums found in this fantastic kit.
Supplies used:
 |
|
 |
 |
 |
 |
|
 |
|
|
 |
 |
 |
 |
 |
 |
|
I used the Tim Holtz kit, however in case you have some of these supplies in your own stash (or are just looking to add one or two things) I’ve included links to just about everything I used.
Tips & details on this project
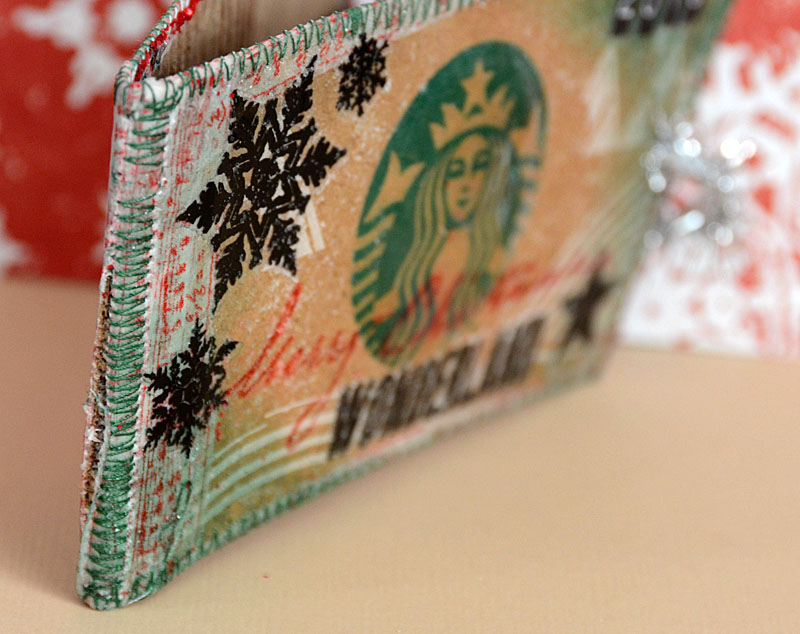
For the cover/overall:
- edge everything with tape, then coat with PPA or other matte finish medium.
- Stitching is optional – but I just love that look! Use a zig-zag stitch all around, coat again with matte finish medium. Don’t stitch? No problem! just add some ink to add contrast.
- When working with the rub-ons, be sure not to use the heat tool a lot around them. It can cook them – and not in a good way!
- Want your words or images stamped in distress to stay put? Right after stamping coat with clear embossing powder and heat set. This will “lock in” the image and keep it from reacting if you use other liquid mediums or inks around the stamped area.
- Apply thin coat of distress stickles in rock candy all over for a sandy sparkle. Bonus? You can ink over the top and the glittered flakes will take on that color!
- Glossy accents is great as an adhesive, but also just to add a layer of dimensional shine to any area you might want to highlight. I like to edge the area first, then fill in the center.
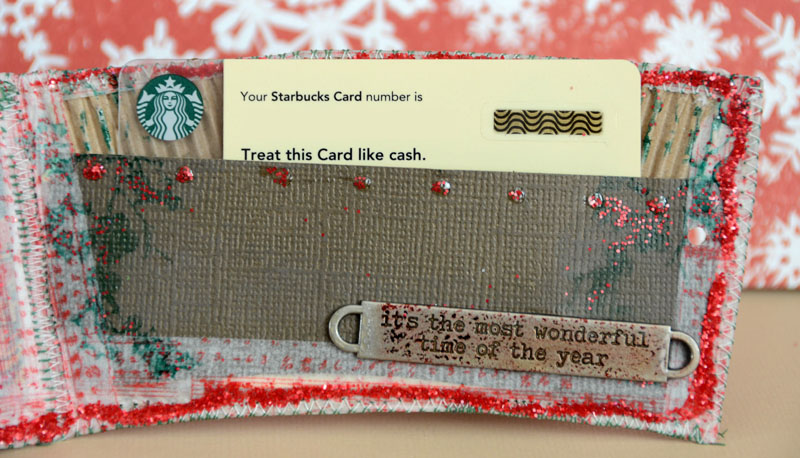
For the inside pages:
- Make sure you create a pocket big enough for your gift card (if you’re using it for that!)
- Want to add color and shine to your metal accent? Apply some distress ink, then use clear embossing powder (and hold it with tweezers as you heat or place into a melt pot tool) to lock the color dots in.
- Got glitter? Glossy accents is the best choice for adhering it! The shine of glossy accents will let the glitter sparkle, while being a very strong adhesive that will keep things in place.
- A little picket fence distress marker goes a long way! Use it to add highlights and accents to darker pages and pop where you might need it.
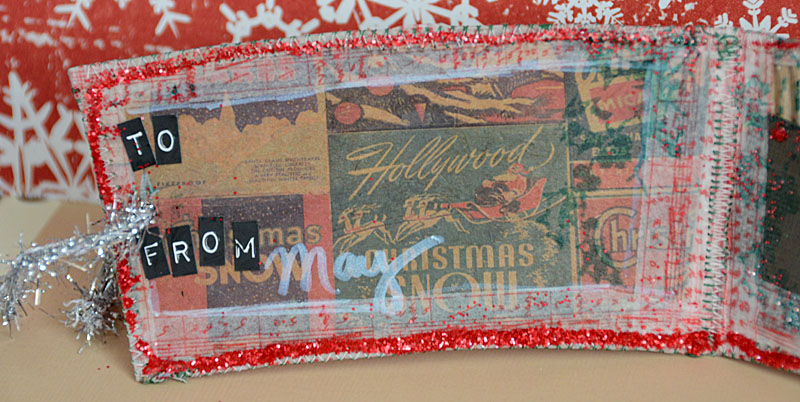
- Using stickers? As I did with the tape edging this project, I really recommend coating with a matte finish medium to seal them in so they won’t flake off.
I hope that this project inspires you to look around your world and see what found treasure might inspire you to create! In this instance, my creative session with this kit has led to a gift card that is already wrapped and set to go to someone special.
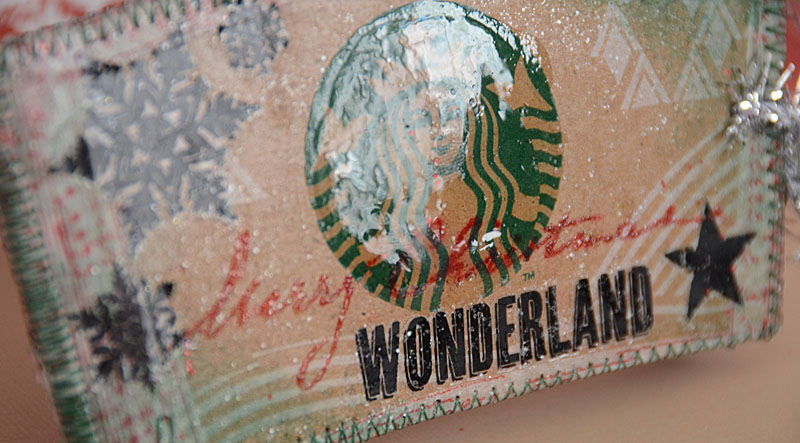
I absolutely loved working with this kit because not only are many of Tim’s favorites my own favorites as well, but it really had everything I needed to do some magical Christmas crafting.
Speaking of magical crafting – if you’d like to check out more of my ideas for the holiday season please be sure to check out my brand new class Happy Holiday Crafting – from gift cards to tags to home décor we’ll be exploring many ways to make this season merry & bright!